
|
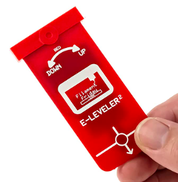
How to use the E-Leveler2 |
|
How the E-Leveler Works
You run the Filament Friday E-Leveler GCode files just like any 3D Print.
The GCode file will position the nozzle over each adjuster with the perfect 5.7 mm Z-offset for the E-Leveler.
It will automatically move to the corner (left front first) so you can level that corner with the E-Leveler so the LED just turns on. The GCode will automatically move to the next position after 20-30 seconds so you can level the next corner.
It continues until all corners are leveled. You can repeat it as many times as you want to get the perfect level.
Run the Squares test print (included in download) to see how level your bed is. It will draw squares around the bed so you can see low or high spots if you have any.
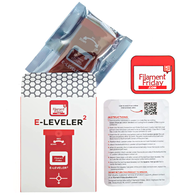
Files Download
|
INSTRUCTIONS:
1. Download the necessary E-Leveler 2 G-Code files and saving the E-Leveler 2 Files to your computer. 2. Open this file and choose the sub-folder that most closely matches your printer's bed size (does not need to be an Ender printer). Copy the G-Code files inside the selected folder to your printers SD card. 3. Insert the SD card into your printer and run the E-Leveler.gcode file just like you would any other 3D print. The print nozzle will home itself and then move to the front left corner of the print bed. 4. Position the E-Leveler under the nozzle (do not heat the bed or nozzle). 5. Adjust the bed until the E-Leveler LED just begins to turn on. 6. After 20 - 30 seconds, the G-Code will automatically move the nozzle to the next position (left rear). 7. Again, position the E-Leveler under the nozzle and adjust the bed until the E-Leveler LED just begins to turn on. 8. Repeat these steps until all 4 corners of the bed have been leveled. The G-Code file will then return the nozzle to the home position. 9. Now that the bed has been leveled, run the Squares-Test.gcode file to verify the bed is level. 10. Review the Squares Test print. If the print does not look even, repeat the leveling process. |
Download and Upzip.
The .zip file contains 3 bed size folders. Download and upzip it to your computer. Then select the folder that matches closest to your bed size.
There are three sizes:
Run the E-Leveler.gcode file to adjust the corners. Run the Squares-Test.gcode file to check the level. Beta Version for Elegoo Neptune MaxWith 6 bed adjusters
E-Leveler 2 Release Video | ||||